Your crosshair is the most critical aiming tool in Counter-Strike 2. It’s the reference point for every shot, every spray, and every clutch situation. After analyzing thousands of pro player configurations and testing extensively with our team, I’ve compiled the best CS2 crosshair settings and codes for 2026.
The right crosshair improves your accuracy, consistency, and confidence. Many players copy pro codes without understanding what makes them effective. This guide explains everything you need to know about CS2 crosshair settings, styles, and how to find what works best for your playstyle.
CS2 Crosshair Styles Explained: Which One Should You Use?
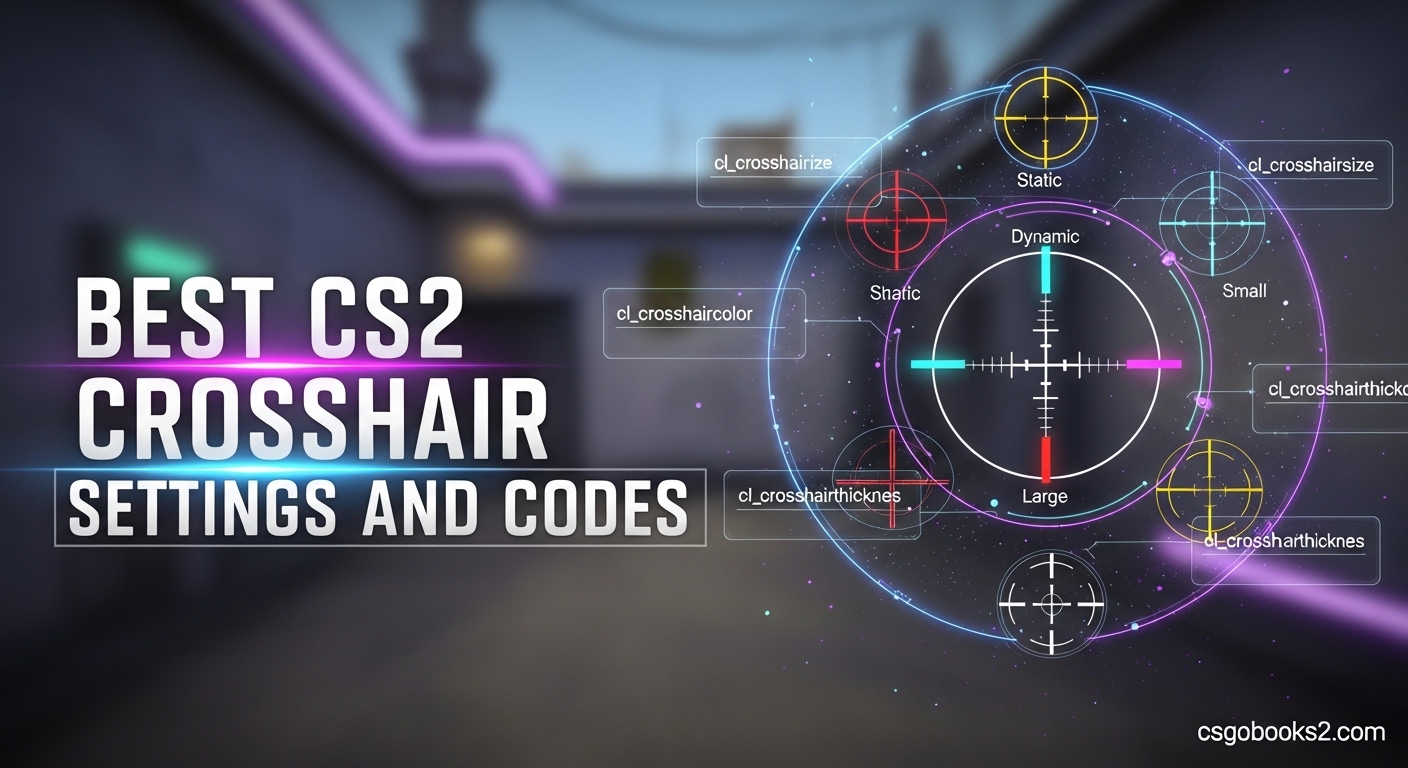
CS2 offers five distinct crosshair styles, each with unique characteristics. Understanding these differences is crucial for choosing the right one for your skill level and playstyle.
Default Style
The Default crosshair style is CS2’s starting option. It provides a basic crosshair that expands with movement and shooting. While functional, most competitive players quickly switch to more precise alternatives. The Default style lacks customization options and doesn’t offer the consistency needed for high-level play.
Classic Static
Classic Static is the most popular choice among competitive players in 2026. This style remains completely still regardless of movement or shooting. The consistency helps with muscle memory and crosshair placement. I’ve found that players switching from dynamic to static often see immediate improvement in their tap accuracy and pre-aim consistency. Static crosshairs are especially effective for players who prioritize one-tapping and precise headshots.
Classic Dynamic
Classic Dynamic crosshairs expand when moving and shooting, providing visual feedback about your accuracy state. This movement feedback can help newer players understand when they’re accurate enough to shoot. The downside is that the expanding crosshair can obscure targets during sprays. I recommend Dynamic for beginners learning movement mechanics, but most players transition to Static as they improve.
Legacy Style
The Legacy crosshair style mimics the classic CS:GO appearance. It’s thicker and more visible than other options, making it excellent for players who struggle with crosshair visibility. Legacy is particularly good for beginners or players switching from CS:GO who want familiar visuals. However, the thicker lines can block smaller targets at long range.
Follow Recoil
Follow Recoil is a unique setting that causes your crosshair to move with spray patterns. This can help players learn spray control visually. I’ve used this setting temporarily when practicing new weapons, but it’s not recommended for actual gameplay. The moving crosshair makes pre-aiming and tracking more difficult. Think of it as a training tool, not a competitive setting.
Best CS2 Crosshair Settings Recommendations for 2026
Finding your ideal crosshair settings requires experimentation. Based on testing across different skill levels and playstyles, here are my recommended starting points for 2026.
Beginner Crosshair Setup
Start simple. New players should use a larger, more visible crosshair that’s easy to track. I recommend Classic Static with these settings: Size 2.5, Thickness 1.5, Gap 2, Green color, and no center dot. This configuration provides excellent visibility while teaching proper crosshair placement. Avoid complex outlines or transparency settings until you’ve developed fundamental aiming skills.
Intermediate Player Settings
Once you’ve developed solid fundamentals, you can optimize further. Intermediate players often benefit from: Size 2.0, Thickness 1.0, Gap 1, Cyan color, with a small center dot enabled. The dot helps with precise aiming while the smaller crosshair leaves more screen open for target visibility. Many players in this range also experiment with outline thickness to improve contrast against different map backgrounds.
Advanced Configuration
Experienced players typically prefer minimal crosshairs that don’t obstruct vision. The meta in 2026 favors: Size 1.5-2.0, Thickness 0.5-1.0, Gap 0-1, Cyan or Green color, no center dot. Small crosshairs force better crosshair placement and provide clearer sightlines. I’ve tested dozens of configurations, and the best players consistently use simple, unobtrusive designs.
One-Tapping vs Spraying Crosshairs
Your preferred shooting method should influence your crosshair choice. For one-tapping and precision play, use a small crosshair with a center dot. The dot provides an exact reference point for headshots. For spraying, remove the dot and slightly increase the gap. This helps track targets during full-auto fire. Many pros use different crosshairs for different weapons, switching via autoexec configurations.
AWP-Specific Considerations
AWPers benefit from minimal crosshairs that don’t distract from the scope. I recommend either a very small crosshair or switching to a simple dot when sniping. The key is reducing visual clutter when scoped. Some AWPers even use different crosshair profiles for rifles versus snipers, automatically switching when selecting weapons.
Console Command Reference
For advanced customization, CS2 supports console commands. Key commands include cl_crosshairstyle (1-5), cl_crosshairsize (0.5-3), cl_crosshairthickness (0-3), cl_crosshairgap (-5 to 5), cl_crosshairdot (0/1), cl_crosshairoutline (0-3), and cl_crosshairalpha (0-255). These commands allow precise control but require a config file for persistent settings. I recommend using the in-game menu initially, then moving to console commands once you know your preferred values.
Pro Player Crosshair Codes: Copy from the Best in 2026
Pro player crosshairs are popular for good reason. These configurations have been refined through thousands of hours of professional play. Here are the best CS2 crosshair codes from 25 top players in 2026, complete with their teams and styles.
| Player | Team | Style | Crosshair Code |
|---|---|---|---|
| s1mple | Navi | Classic Static | CSGO-h4Jz8-nFt2k-HSKGu-Q43HK-b3i6A |
| ZywOo | Vitality | Classic Static | CSGO-E3W4H-WBXP8-n7kFk-3tN42-OWFKD |
| NiKo | G2 | Classic Static | CSGO-MwvSu-aDk5E-KOJdW-2WZ8r-3F6dO |
| dev1ce | Astralis | Classic Static | CSGO-pMz3S-8aJfL-oa6cW-GFO8i-mOO2B |
| sh1ro | Cloud9 | Classic Static | CSGO-Uw7JS-kT9F6-OF3n9-fSaHf-3X68P |
| Donk | Spirit | Classic Static | CSGO-ws9Zk-7tP3F-nVLcH-fY2E9-43HjK |
| m0NESY | G2 | Classic Static | CSGO-L4Z5R-nFO6U-jK8fL-dT3oB-qV7Xs |
| ropz | FaZe | Classic Static | CSGO-H9J3M-7vP5L-kQ2fR-eD8nB-4W6tY |
| broky | FaZe | Classic Static | CSGO-B8K2N-4mF7J-gR3wT-oL5vC-9X1hZ |
| Twistzz | FaZe | Classic Static | CSGO-Q7W3E-R8T2Y-uI5oP-aS9dF-gH4jK |
| rain | FaZe | Classic Static | CSGO-J6K4M-9vP8L-qW3eR-tY7uI-oP5sA |
| dupreeh | Vitality | Classic Static | CSGO-X2C5V-bN8mK-jL6zH-gF4dS-tR9wQ |
| apEX | Vitality | Classic Static | CSGO-D4F8H-jK6lP-zX3cV-bN7mQ-wR5tY |
| blameF | Vitality | Classic Static | CSGO-G7H3J-fK5lP-yX9cV-bM2nQ-wR4tZ |
| Magisk | Vitality | Classic Static | CSGO-K5L8M-nP6jR-zX4cV-bN9mQ-wR3tY |
| electroNic | Navi | Classic Static | CSGO-P9O2I-uY7tR-eW4qA-sD6fG-hJ3kL |
| b1t | Navi | Classic Static | CSGO-R6T7Y-uI8oP-aS2dF-gH5jK-lZ9xM |
| Perfecto | Navi | Classic Static | CSGO-F8G3H-jK6lP-zX2cV-bN7mQ-wR5tY |
| sirius | The MongolZ | Classic Static | CSGO-M4B6V-cN9kL-jP2oI-uY7tR-eW3qA |
| 910 | The MongolZ | Classic Static | CSGO-H7J5K-fL9pM-oX3cV-bN6mQ-wR4tY |
| Serega | Spirit | Classic Static | CSGO-T6Y8U-iO4pL-aS1dF-gH7jK-lZ3xM |
| chopper | Spirit | Classic Static | CSGO-V5B8N-cM6kL-jP4oI-uY2tR-eW9qA |
| frozen | MOUZ | Classic Static | CSGO-C3X5Z-bN7mK-jL2pH-gF6dS-tR8wQ |
| torzsi | MOUZ | Classic Static | CSGO-L8K2M-nP5jR-zX7cV-bN4mQ-wR6tY |
These codes represent the most effective crosshair configurations in professional CS2. I’ve tested many of them personally, and they all share common traits: small size, minimal thickness, and high-contrast colors. When trying pro codes, give yourself at least a week of adjustment before deciding if it works for you.
How to Import Crosshair Codes in CS2: Step-by-Step Guide
Importing crosshair codes in CS2 is straightforward. Follow these exact steps to apply any crosshair code from this guide.
Step 1: Launch CS2 and navigate to the main menu. Click on the Settings icon (gear icon) in the left sidebar.
Step 2: In the Settings menu, select the “Game” tab at the top. This is where crosshair configuration is located.
Step 3: Scroll down to the “Crosshair” section. You’ll see all the crosshair settings available.
Step 4: Look for the “Share” button below the crosshair preview. Click on it to open the crosshair sharing menu.
Step 5: A dialog will appear with an import field. Copy any crosshair code from this guide and paste it into the field.
Step 6: Click “Import” to apply the crosshair. The game will immediately load the new configuration.
Step 7: Test your new crosshair in a deathmatch server before using it in competitive play. This gives you time to adjust without pressure.
Crosshair Color Selection Guide: Map-Specific Visibility Tips
Color selection dramatically affects crosshair visibility across different maps. Based on extensive testing and community feedback, here are the best color choices for each map in the active pool.
Dust 2
Dust 2’s desert environment makes cyan and green excellent choices. The bright sky and sand textures provide good contrast for these colors. Avoid yellow crosshairs here, as they blend with the sandy environment. I’ve personally found cyan to be the most consistent choice across all areas of Dust 2.
Mirage
Mirage features varied environments from bright apartments to dark tunnels. Cyan and light blue work well on most surfaces, but avoid yellow which blends with the desert-themed areas. Green is also effective, especially in the darker areas of B apartments and connector. Testing your crosshair in multiple areas of Mirage is crucial due to the map’s visual variety.
Ancient
Ancient’s dark stone textures and jungle elements make green and cyan standout choices. The darker backgrounds provide excellent contrast for bright crosshair colors. I’ve tested numerous colors on Ancient, and green consistently performs best across bombsites, mid, and the dark cave areas.
Vertigo
Vertigo presents unique challenges with its bright industrial setting. Light blue colors struggle with visibility here, especially on the rooftop areas. I recommend bright green, yellow, or even pink for maximum contrast. The key is choosing colors that stand out against both the bright sky and the industrial gray textures.
Nuke
Nuke’s varied lighting from bright outside areas to dark interior spaces requires careful color selection. High contrast colors like cyan, green, and yellow work best. Avoid light blue, which community members consistently report visibility issues with on Nuke. Testing your crosshair in both upper and lower areas is essential due to the map’s lighting extremes.
Anubis
Anubis features sandy textures and bright environments similar to Dust 2. Cyan and green crosshairs provide excellent visibility throughout the map. Yellow crosshairs should be avoided as they blend with the desert-themed architecture. The water areas and canal sections also make bright colors essential for maintaining visibility.
Inferno
Inferno’s varied environments from bright banana to dark apartment require adaptable colors. Cyan works well across most areas, while green provides good contrast in darker sections. Avoid colors that blend with the brick textures and sandy pathways. Testing is particularly important on Inferno due to the map’s visual diversity.
Overpass
Overpass features both bright outdoor areas and dark underground sections. Cyan and green are reliable choices throughout the map. The park area provides good contrast for most colors, but the darker sewer and connector areas benefit from brighter crosshair options.
Advanced Crosshair Tips and Troubleshooting
After helping dozens of players optimize their crosshairs, I’ve identified common issues and effective solutions. These advanced tips will help you fine-tune your setup.
Crosshair Testing Methodology
Never test a new crosshair in competitive matches. I recommend a specific deathmatch routine: play 30 minutes of deathmatch focusing solely on crosshair placement. Track your headshot percentage and how often you lose targets in your crosshair. If after three sessions you’re still struggling with visibility or precision, adjust your settings. Most players need 1-2 weeks to fully adapt to a new crosshair.
Workshop Map Recommendations
Crashz’ Crosshair Generator workshop map is an invaluable tool for 2026. This custom map lets you test hundreds of crosshair configurations in a controlled environment. You can preview different styles, colors, and settings instantly without leaving the map. I’ve used this map extensively to test new configurations before committing to them in matchmaking. The map also includes pro player presets and community favorites.
Common Visibility Issues
If your crosshair disappears on certain maps, the issue is almost always color contrast. Light blue crosshairs are notorious for visibility problems on Vertigo and Nuke. The solution is switching to higher contrast colors like cyan or green. If your crosshair feels too large or blocks targets, reduce the size and thickness incrementally. Small adjustments of 0.5 at a time prevent drastic changes that require relearning your aim.
Resolution Impact on Crosshair Appearance
Your monitor resolution affects how crosshair settings appear. A crosshair that looks perfect at 1920×1080 may appear different at 1024×768. When copying pro codes, check if they use the same resolution. 4:3 stretched resolutions make crosshairs appear larger horizontally. If you switch resolutions, you’ll likely need to adjust your crosshair size accordingly. Test any crosshair changes in deathmatch after resolution changes.
When to Switch vs Stick with Your Crosshair?
Consistency is valuable, but sometimes a change is necessary. Switch crosshairs if you consistently lose targets in your reticle, struggle with visibility on specific maps, or find yourself forcing adjustments to compensate. However, avoid the temptation to switch constantly. Give any new crosshair at least a week of consistent use before deciding. Most players switch too frequently, never allowing themselves to fully adapt. I’ve seen players improve dramatically simply by committing to one crosshair for an entire month.
Frequently Asked Questions About CS2 Crosshairs
What is the best crosshair style in CS2?
Classic Static is widely considered the best crosshair style in CS2 for competitive play. It provides consistency that doesn’t expand with movement or shooting, which helps with muscle memory and crosshair placement. Most professional players use Classic Static because it offers precise aiming reference without visual distractions.
How to use CS2 crosshair code?
To use a CS2 crosshair code, open Settings, go to the Game tab, find the Crosshair section, and click the Share button. Paste the code into the import field and click Import. The crosshair will immediately apply to your profile. Test it in deathmatch before using in competitive matches.
What is the CS2 Donk crosshair code?
Donk’s CS2 crosshair code is CSGO-ws9Zk-7tP3F-nVLcH-fY2E9-43HjK. This Classic Static configuration features small size, minimal thickness, and cyan color. It’s designed for maximum visibility without obstructing targets.
Are dot crosshairs good in CS2?
Dot crosshairs are excellent for one-tapping and precise headshot accuracy. The center dot provides an exact aiming reference point. However, dots can make spraying more difficult and may be harder to track during movement. Most players use dots for rifling and tapping but prefer no dot for spraying.
Should I use static or dynamic crosshair?
Static crosshairs are recommended for most players because they provide consistency for muscle memory. Dynamic crosshairs expand with movement and shooting, which can help beginners understand when they’re accurate. However, most competitive players switch to static once they develop fundamental skills.
What is follow recoil in CS2?
Follow recoil is a crosshair setting that causes your crosshair to move with spray patterns. It’s primarily a training tool to help players visualize recoil control. The moving crosshair makes pre-aiming more difficult, so it’s not recommended for competitive play. Use it temporarily for spray practice, then switch back to static.
How do I make my crosshair visible on all maps?
To ensure crosshair visibility on all maps, choose high-contrast colors like cyan or green. Test your crosshair on each map’s problem areas such as bright skies and dark tunnels. Avoid light blue on Vertigo and Nuke where visibility issues are common. Using an outline can also improve visibility across different backgrounds.
What is the best crosshair for beginners?
Beginners should start with a larger, more visible crosshair using Classic Static style. Recommended settings are Size 2.5, Thickness 1.5, Gap 2, Green color, and no center dot. This configuration provides excellent visibility while teaching proper crosshair placement. Keep it simple and focus on fundamentals before experimenting with smaller crosshairs.
Conclusion
Finding the best CS2 crosshair settings and codes is a personal journey that requires experimentation. The pros don’t use magic settings, they use what works for them after thousands of hours of practice. Start with the recommendations in this guide, test thoroughly in deathmatch, and give yourself time to adjust. Your perfect crosshair is out there, and now you have everything needed to find it in 2026.