The Desert Eagle, affectionately called the “Deagle” by CS2 players, stands as one of the most iconic weapons in Counter-Strike history. This powerful pistol rewards precision and patience with the ability to one-shot kill enemies at any range with a well-placed headshot. In this CS2 Desert Eagle guide, I’ll share everything I’ve learned from hundreds of hours mastering this high-skill, high-reward weapon.
Whether you’re tired of feeling useless during eco rounds or want to add a devastating weapon to your arsenal, the Deagle can transform your gameplay when used correctly. The key is understanding its unique mechanics and adapting your playstyle accordingly.
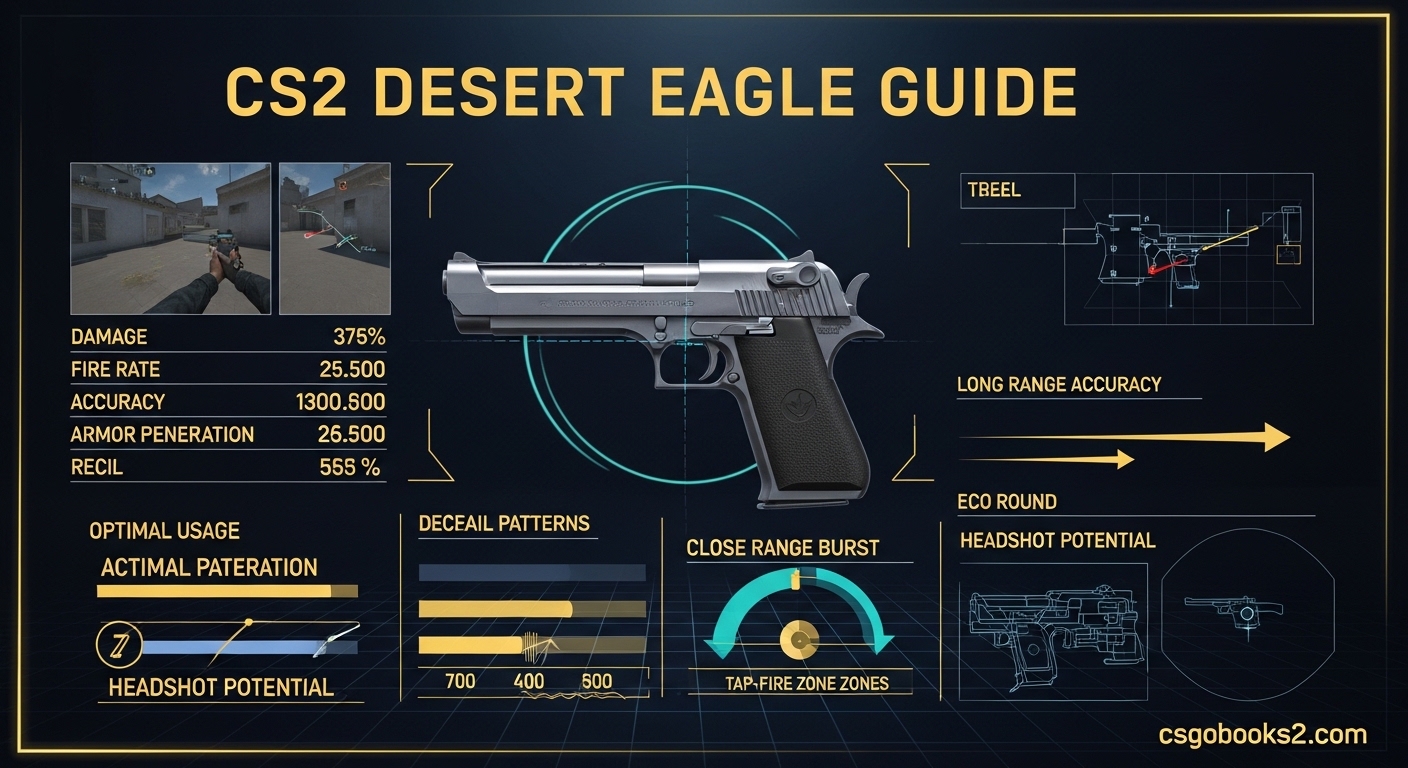
Understanding the Desert Eagle in CS2
The Desert Eagle is a $700 pistol that offers unmatched stopping power among sidearms. What makes it special is the ability to eliminate armored enemies with a single headshot, regardless of distance. This one-tap potential is why the Deagle has been a staple in competitive play for over two decades.
However, this power comes with significant trade-offs. The Deagle features only seven rounds in its magazine, substantial recoil between shots, and severe accuracy penalties while moving. CS2 Desert Eagle mastery requires understanding these limitations and working within them rather than fighting against the weapon’s design.
Weapon Stats and Mechanics
The Desert Eagle fires at 267 rounds per minute with a reload time of 2.2 seconds. Each shot deals 63 damage to the body against unarmored opponents and 46 damage to armored targets. The real story is the headshot multiplier: 2x for the first shot, meaning a whopping 250+ damage to the head regardless of armor.
Armor penetration sits at 93%, making the Deagle incredibly effective against economy buys. Movement speed with the Deagle is 230 units per second—standard for pistols in CS2. This mobility allows you to reposition between shots while maintaining the ability to peek angles aggressively.
Damage and Armor Penetration
The Deagle’s .50 AE rounds pack serious punch. At close range, two body shots will eliminate an unarmored enemy, while three shots finish armored opponents. But the real play is the headshot: one perfectly placed shot instantly kills any enemy, even if they’re wearing full armor and a helmet.
This armor penetration is what makes the Deagle devastating during eco rounds. When opponents expect weak pistols that can’t penetrate armor, the Deagle catches them off guard. I’ve won countless 1v3 clutches simply because enemies didn’t respect the one-tap potential.
Accuracy System Explained
CS2 Desert Eagle accuracy follows a different pattern than other pistols. The first shot from a stationary position is incredibly precise, with a very small accuracy cone. However, each subsequent shot suffers from increasing inaccuracy until the recoil reset completes.
Movement accuracy is where most players struggle. The Deagle’s spread expands dramatically while moving, crouching, or jumping. To maintain accuracy, you must come to a complete stop before firing. Counter-strafing—the technique of tapping the opposite movement key to stop instantly—is essential for consistent Deagle play.
CS2 Desert Eagle Guide: Why Choose the Deagle
The Desert Eagle offers unique advantages that no other pistol can match. When used correctly, it becomes a force multiplier that can single-handedly win rounds your team should lose. Understanding these strengths is the first step toward effective Deagle play.
One-Tap Headshot Potential
No other pistol in CS2 can guarantee a one-shot kill at any range. The USP-S and P2000 require close range for helmet kills, while the Glock-18 needs two headshots. The Deagle delivers instant eliminations regardless of distance, making it equally deadly in close-quarters battles and long-range duels.
This one-tap potential changes how enemies approach you. Experienced players know that peeking against a Deagle holder means instant death if their crosshair is well-placed. This psychological advantage creates space and hesitation you can exploit.
Eco Round Dominance
Eco rounds are where the Deagle shines brightest. For $700, you get a weapon that can kill fully-geared enemies with a single shot. Compare this to the $2000+ price tag of rifles, and the value becomes obvious. A single Deagle kill pays for the weapon three times over and gives you a rifle to use.
I’ve won entire eco rounds by myself with just the Deagle. The key is picking isolated engagements and using the one-tap threat to control space. When opponents know you have Deagle potential, they play more cautiously—opening opportunities for your teammates.
High Skill, High Reward
The Deagle represents one of the highest skill ceilings in CS2. Unlike the CZ75 or Five-SeveN, which can be sprayed effectively, the Deagle demands precision. Every shot matters with only seven rounds in the magazine.
This difficulty is exactly what makes the Deagle so satisfying. There’s nothing quite like the feeling of perfectly timing a counter-strafe and landing a headshot mid-air. These highlight-reel moments are why players dedicate hundreds of hours to mastering the weapon.
Desert Eagle Weaknesses and Limitations
Despite its power, the Deagle has significant drawbacks that limit its effectiveness. Understanding these weaknesses is crucial for knowing when the Deagle will serve you well—and when it will cost you the round.
Small Magazine Size
Seven rounds means you have zero room for error. Miss two shots against a single enemy, and you’re likely dead unless they’re already damaged. This constraint forces you to make every shot count rather than relying on volume like with the Tec-9 or CZ75.
The small magazine also limits your clutch potential. In 1v3 or 1v4 situations, you simply don’t have enough bullets unless you hit headshots. This is why Deagle clutches feel so impressive—they require near-perfect accuracy.
Recoil Reset Challenges
The Deagle’s recoil takes approximately 0.8 seconds to fully reset. During this time, your accuracy remains compromised even if you appear stationary. This reset is why spamming the Deagle rarely works—the second and third shots fly wildly unless you wait.
Many players struggle with this timing internally. They think they’ve stopped moving, but the recoil from the previous shot hasn’t settled. The result is missed shots and frustration with the weapon’s perceived inaccuracy.
Movement Accuracy Penalty
Moving while shooting with the Deagle is practically guaranteed to miss. Even walking—rather than running—dramatically expands your accuracy cone. This is completely different from rifles, which maintain reasonable accuracy while walking.
This penalty forces a specific playstyle: stop, shoot, reposition. You cannot strafe and fire effectively with the Deagle. Counter-strafing becomes not just a technique but a necessity for hitting shots consistently.
When to Buy Desert Eagle in CS2?
Knowing when to purchase the Deagle is as important as knowing how to use it. Buy it at the wrong time, and you’ll handicap your team. Buy it at the right time, and you might single-handedly win the round.
Pistol Round Strategy
The first round of each half presents an interesting choice. For $700, the Deagle costs $300 more than other pistols but offers exponentially more killing potential. I recommend buying the Deagle on pistol rounds when you have confidence in your aim.
The threat of a one-shot kill changes how opponents play pistol rounds. They’ll peek more carefully and avoid direct confrontations. This creates space for your team to execute strategies or take map control more easily.
Eco Round Situations
Eco rounds are the Deagle’s primary domain. When your team has no money for rifles, the Deagle provides a realistic path to winning the round through individual skill. Each Deagle kill pays for itself multiple times and gives you a better weapon.
The key during eco rounds is avoiding force-buy situations where opponents have rifles and utility. In these scenarios, the Deagle struggles against opponents who can trade and spam smokes. Look for isolated picks rather than frontal assaults.
Force Buy Rounds
Force buys present an interesting middle ground. When your team has partial money but can’t afford full rifles, the Deagle becomes a viable option. It pairs well with armor, creating a loadout that can compete against rifle-equipped enemies.
The best force buy configuration is Deagle plus armor plus flashbangs. This gives you staying power in duels and utility to create advantageous situations. Avoid forcing with just the Deagle and no armor—you’ll die too quickly to utilize the weapon properly.
Post-Plant Scenarios
When defending or retaking a planted bomb, the Deagle excels at defending tight angles. The one-tap threat makes opponents hesitate to peek, buying precious seconds for the bomb to explode or for your team to rotate.
On T-side post-plant situations, the Deagle allows you to hold obscure off-angles that catch rotators off guard. CTs expect planted positions during retakes—Deagle holders can abuse this expectation by holding atypical positions.
Aiming and Crosshair Placement
The Deagle rewards precision like no other weapon. Developing proper aim fundamentals isn’t just helpful—it’s absolutely essential for consistent Deagle performance. These techniques form the foundation of effective Deagle play.
Head-Level Crosshair Position
Keeping your crosshair at head level is the single most important Deagle skill. With only one accurate shot, you must maximize your chances of hitting the lethal zone. Pre-aiming at head level means you only need minor adjustments rather than large movements when enemies appear.
I practice this constantly, even when not holding an angle. My crosshair lives at head height regardless of what weapon I’m holding. This muscle memory translates directly to better Deagle performance when it matters most.
Counter-Strafing Technique
Counter-strafing is the technique of tapping the opposite movement key to stop instantly. If you’re moving left with ‘A’, tapping ‘D’ will stop your movement immediately. This allows you to fire accurate shots while maintaining mobility between shots.
The Deagle’s movement accuracy penalty makes counter-strafing non-negotiable. Every shot must be fired from a complete stop. Practice this movement in deathmatch until it becomes second nature—your consistency will improve dramatically.
Pre-Aiming Common Angles
Anticipating where enemies will appear reduces the mouse movement needed to land shots. Study common angles on each map and position your crosshair accordingly. This preparation means you only need to click rather than aim when enemies peek.
Good Deagle players seem to have instant aim because they’ve already aimed before the enemy appears. This pre-aiming is what separates average Deagle users from experts who hit incredible shots consistently.
Recoil Control and Timing
The Deagle’s recoil system operates differently than any other weapon in CS2. Mastering its timing and reset mechanics is what separates players who occasionally hit lucky shots from those who can rely on the Deagle round after round.
The 0.8 Second Reset Rule
The Deagle’s accuracy requires approximately 0.8 seconds to fully recover between shots. During this window, your shots will fly wide even if stationary. Many players mistakenly think they’ve reset when they haven’t, leading to frustration with the weapon’s “inaccuracy.”
Internalizing this timing is crucial for consistent Deagle play. I count mentally between shots: one Mississippi. This rhythm ensures enough time for accuracy reset without being so slow that I lose peek battles.
Rhythm Shooting Technique
Advanced Deagle players develop a rhythm between shots that maximizes accuracy while maintaining reasonable speed. The key is finding the perfect timing where accuracy has reset but you’re still firing fast enough to win duels.
Some players use the Bee Gees song “Stayin Alive” as a mental metronome—the beat approximates the optimal Deagle firing rhythm. While silly, this technique actually works because it provides an external reference for the internal timing you need to develop.
Crouch Shooting Mechanics
Crouching dramatically improves Deagle accuracy, especially at medium to long range. The accuracy cone shrinks significantly when crouched, making headshots much more reliable. This is why you’ll often see pros crouch before taking important Deagle shots.
The downside is increased predictability—crouching makes you an easier target to hit. Balance this risk by crouching only when the accuracy improvement matters: long-range duels or when you have cover to retreat to after firing.
Best Crosshair Settings for Desert Eagle 2026
Your crosshair configuration significantly affects Deagle performance. The right settings help you track heads and land those critical one-taps consistently. After experimenting extensively, I’ve found specific settings that work best for Deagle play.
Static vs Dynamic Crosshairs
Static crosshairs don’t expand when moving or shooting, providing consistent reference points for aiming. For the Deagle, I strongly recommend static crosshairs because movement accuracy is so poor—you should never shoot while moving anyway.
Dynamic crosshairs can actually mislead you into thinking you’re accurate when you’re not. The expansion shows movement, but the Deagle’s accuracy cone is already terrible while moving. Static crosshairs give honest feedback about your actual accuracy.
Recommended Settings
For Deagle play, I recommend a small, static crosshair with a center dot. The dot provides a precise aiming point for headshots, while small lines give visibility without cluttering your screen. Classic dynamic or classic static styles work equally well—personal preference matters more than anything.
Crosshair thickness should be thin enough to precisely aim at heads but thick enough to remain visible against all backgrounds. I use thickness 1.5 at 1920×1080 resolution, which provides the right balance of precision and visibility.
Color and Visibility
Bright colors like cyan, green, or yellow ensure your crosshair remains visible against all backgrounds. Avoid darker colors that blend into maps. The goal is instant visibility regardless of what you’re looking at—no time should be spent searching for your crosshair.
Some players use different crosshair colors for different weapons, but I recommend consistency. Using the same crosshair for all weapons builds reliable muscle memory that translates across every gun in your inventory.
Practice Methods and Training (April 2026)
Improving with the Deagle requires structured practice focused on the specific skills the weapon demands. Random deathmatch isn’t enough—you need targeted drills that build the muscle memory and game sense needed for consistent Deagle performance.
Aim Botz Setup
The Aim Botz workshop map is the single best tool for Deagle practice. Set the bots to strafe and move to replicate real-game scenarios, then practice counter-strafing and headshots. I recommend 100-200 kills daily before playing competitive—this warm-up dramatically improves my in-game performance.
Focus on quality over quantity. Each shot should be deliberate: stop, aim at the head, fire, reset. Rushing through Aim Botz without attention to form builds bad habits that will cost you in real matches.
Deathmatch Practice
Deathmatch provides the unpredictable targets that Aim Botz lacks. Use DM time to practice pre-aiming, crosshair placement, and counter-strafing against moving targets. The key is treating every deathmatch engagement as if it matters—don’t develop sloppy habits just because there’s no consequence.
I recommend pistol-only deathmatch servers when practicing Deagle. Rifle DM servers encourage different movement patterns and engagement distances that don’t translate well to pistol play. Find servers with good ping and focus on quality shots rather than kill counts.
Recoil Pattern Drills
The Deagle’s recoil pattern is unique and must be internalized through repetition. Practice tapping at walls on an empty server to see exactly how long reset takes. Visual confirmation helps build the internal timing needed for consistent follow-up shots.
Advanced players practice movement shots intentionally to understand exactly where the accuracy boundary lies. This experimentation helps you recognize the edge cases where you can get away with imperfect technique versus when you must be absolutely precise.
FAQs
Is the Desert Eagle accurate in CS2?
The Desert Eagle is extremely accurate in CS2 when used correctly. The first shot from a stationary position has a very tight accuracy cone, making headshots reliable at any range. However, accuracy degrades severely while moving or spamming shots—counter-strafing and patience are essential for consistent accuracy.
Is Desert Eagle good in CS2?
The Desert Eagle is one of the best pistols in CS2 for skilled players. Its ability to one-tap armored enemies at any range makes it devastating during eco rounds and in clutch situations. However, it requires excellent aim and game sense to use effectively—beginners often struggle with its small magazine and recoil reset mechanics.
How to improve Deagle CS2?
Improving with the Deagle requires focused practice on three areas: crosshair placement at head level, counter-strafing to stop completely before shooting, and understanding the 0.8-second recoil reset timing. Daily Aim Botz practice with strafing bots, combined with pistol deathmatch, will build the necessary muscle memory for consistent Deagle performance.
How to hit more Deagle shots in CS2?
Hitting consistent Deagle shots requires pre-aiming at head level, counter-strafing before every shot, and waiting for the recoil reset between follow-up shots. Crouching before shooting at medium-to-long range dramatically improves accuracy. Most importantly, don’t spam—each shot must be deliberate and timed correctly.
Does crouching improve Desert Eagle accuracy?
Yes, crouching significantly improves Desert Eagle accuracy in CS2. The accuracy cone shrinks dramatically when crouched, making headshots much more reliable at medium and long ranges. However, crouching makes you more predictable, so balance the accuracy benefit against the risk of becoming an easier target.
What’s the Deagle recoil reset time in CS2?
The Desert Eagle recoil takes approximately 0.8 seconds to fully reset in CS2. During this time, your accuracy remains compromised even if you appear stationary. This reset timing is why spamming the Deagle rarely works—patience between shots is essential for hitting consistent follow-up shots.
Conclusion: Mastering Your CS2 Desert Eagle Guide
The Desert Eagle remains one of the most rewarding weapons in CS2 for players willing to invest the practice time. This CS2 Desert Eagle guide has covered everything from basic mechanics to advanced techniques, but the real learning happens on the server. Every deathmatch match, every Aim Botz session, and every competitive round builds the experience needed to master this iconic pistol.
Remember that Deagle improvement is a marathon, not a sprint. You’ll miss shots, lose rounds, and feel frustrated at times. This is normal—even the best players have bad Deagle games. What separates good players from great ones is the dedication to keep practicing despite the setbacks.
Focus on the fundamentals: crosshair placement at head level, counter-strafing before every shot, and patience between follow-up shots. These techniques form the foundation of all Deagle play. Master these basics before attempting flashy plays or advanced movement techniques.
The journey to Deagle mastery is worth it. There’s nothing quite like the feeling of perfectly timing a counter-strafe and landing a game-winning headshot. Those moments are why we play, and they’re why the Deagle has remained a Counter-Strike staple for over 20 years.
Get into Aim Botz, find a pistol deathmatch server, and start building your Deagle skills today. Your future self will thank you when you’re clutching rounds and winning eco games with the most iconic pistol in FPS gaming.